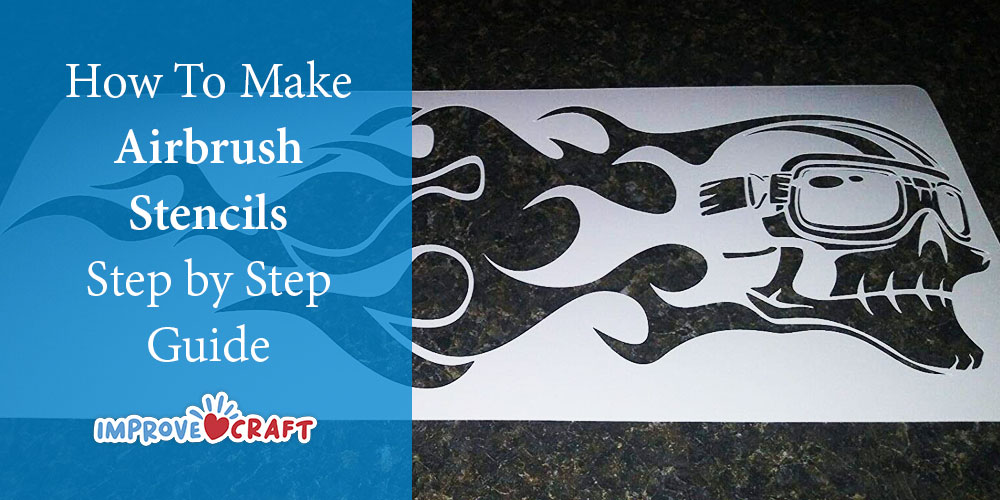
Stencils for airbrushing are used in creative and fun ways. For example, during face painting or body painting, on murals, and airbrushing a design on vehicles. Stencils for airbrushing projects are even used when decorating cakes. Creating your stencils for airbrushing can be a creative outlet and a very rewarding process.
Great quality stencils are essential to make any design idea come to life. If you have never created your stencils before, the first item you should pick up before you start is stencil film. Stencil film is flexible, easy to clean, and lasts through wear and tear. Stencil films, like Frisket film, comes with an adhesive back, so there is no need to use masking tape. Mylar, Peltex Pellon 70, and acetate are other great materials to start off creating your stencils with.
Remember, you want it to rest against your cutting material nicely to prevent messy cut-outs. A 4 MIL or 6 MIL is a great thickness for stencil film. Now you will need a cutting mat, something that will protect your table, desk, or whatever surface you decide to construct your template on. You can get a cutting mat from any store that sells art supplies or a specialty art supply store.
Next, you will want to pick up an Exacto knife or a utility knife to cut your design out of the stencil film. You will also want to have masking tape, pencil, pen, and markers on hand when needed. Once you have your supplies, then it’s time to get your design ready.
Designs can be found online on Pinterest, or by doing a simple google search, and many are free. Designs can be as simple or as complex as you want. If you love drawing and have your designs, then you may not need to search google for a terrific template. This is where your pencils and marker will come in handy. When you have your design, it may be necessary to cut the edges from around your design before you begin your project. Just leave enough of an edge to work with later on. Now you are ready to begin.
Airbrush Stencils Step By Step
- Place your cutting mat on the desk or the table you will be working on.
- Now, take your stencil film and cut off a piece a little larger than the design you have chosen.
- Place your stencil film onto the cutting mat and position your design on the stencil film.
- Use the masking tape to attach your design to the stencil film. (When you choose your design, make sure to leave extra space around the edges so that you can attach your masking tape to it and your stencil film.)
- At this point, you can take your Exacto knife and begin cutting out your design.
Once you have finished cutting out your stencil, you can get on to the exciting part of airbrushing. The great thing about airbrushing is there are so many fantastic ways to go about completing that great piece of artwork. You may even decide to use unusual templates along with your new stencils like fabric, metal mesh, and so on.


