Wood is one of the best materials used in the construction of furniture and several other pieces. You can add a decorative touch to any wood material by burning letters into the wood. The art of burning letters into wood is known as pyrography. The art sounds fun but is an excellent way to enhance wood fixtures and furniture. You can label wood surfaces by creating wood-burning initials.
This is a craft that combines the use of the best wood-burning tools. Burning letters into a wood surface makes the surface attractive, unique, and easy to identify. There are several ways to burn words into the wood. However, not all methods are pyrography-friendly. In this article, we will discuss how to burn letters on wood by burning like a pro.
How to Burn Letters Into Wood
Preparing the wood surface
The first step is preparing a wood surface where you will burn the letters. The good news is that any wood surface can be burned. However, soft and light-colored wood is considered the best. Wood-burning letters easily stand out on light wood.
Pick the right piece of wood with minimal grain. Wood with a lot of grain can cause lines on your lettering. Prepare the surface by sanding wood to create a smooth surface. While you can still burn rough wood, a design on a smooth surface looks neat and clear.
Make sure you sand off any coating on the burning surface. Coatings on the surfaces can cause a toxic smell when burning wood.
Draw the designs on the wood
Once the wood surface is clean and smooth, you can move to the next step of drawing your design or letters on the wood surface. This is a crucial step that will eventually determine the quality of the final patterns. There are three primary ways you can use to move the letters and patterns to wood (see our detailed guide: How to Transfer Woodburning Patterns).
Pencil method
You can do this by drawing the design right away using a pencil. This is a cheap method that uses the least amount of materials. However, the pencil method can be time-consuming and hard on the hands. It also means you cannot use the same pattern again when drawing several pieces. Every piece must be done separately. The pencil method is suitable when making simple drawings on wood that take less time and minimal effort.
Carbon or graphite paper method
This is a common method used widely and one of the best. It is a budget-friendly method that is easy on the hands and clean. The method also allows the reuse of the pattern on several wood pieces. However, be sure to have the several wood-burning tools required. The patterns created are usually difficult to erase. You need to avoid mistakes when using this method.
Wood burn lettering for beginners is easier when first done on paper. Make your design on paper or the computer, and then transfer it to the wood. You can place carbon paper on the wood and the design on top. Using a stylus or a pencil, trace your design. This draws the letters into the wood.
Heat method
Lastly, you can use a wood burner tip to move photocopied images. To do this, you need an image transfer tip for the iron. The photocopied image is then placed on the wood and ironed. The heat from the iron releases the ink on the images imprinting them to the wood.
This is the most tech-savvy method and the most accurate one. It is a precise method that will create small and detailed patterns to perfection. However, the method is expensive and requires a laser printer. It is also hard to erase, and the chances of reusing the pattern are minimal.

Have your tool, equipment, and gear ready
There are several tools needed when burning letters or patterns into wood. A wood-burning tool is by far the most essential tool. There are several wood-burning irons on the market to consider. Wood burners feature a heat regulator, a stand, and different types of tips. You can choose one depending on your skill level and budget. Advanced models produce more heat and feature excellent heat control.
While most burners come with ready tips, you can also buy additional tips separately. Small tips are ideal when you want small detailed art. There are different tip designs for different wood lettering. Different tip shapes create different lines. For example, wedge-shaped tips are ideal for drawing lines, while teardrop shapes are ideal for shading.
There are also specialty tips from different brands that can be burned into the wood with a simple stamping motion. You can easily burn clear letters into wood fast. Using specialty tips requires one to change tips after every letter. The tips can be hot so remember to use pliers when changing them.
Using the wood burner iron
This is where the art of burning letters into wood comes into play. You need to consider your burner as the pen. Make sure you have a firm grip on the iron as you draw on the images already on the wood. However, unlike a pen, a wood-burning iron can burn you. A good grip is vital to ensure the burner does not slip.
If the iron is heated correctly, it should burn the wood with minimal to moderate force. Expert wood artists usually play with the pressure they apply to the burner to create different desired effects. For example, pressing harder on a specific area creates deeper and darker burns.
Once you have a grip on the burner, create consistent drawings on the imprinted images on the wood. Using constant speed will ensure lines are consistent. When you take longer on certain letters, the wood will burn more, creating deeper and darker images. Creating even and consistent lines is not easy for beginners. It requires practice and experience. You can practice on some scrap wood before starting your project on a smooth piece of wood.
Tracing of letters on the piece of wood
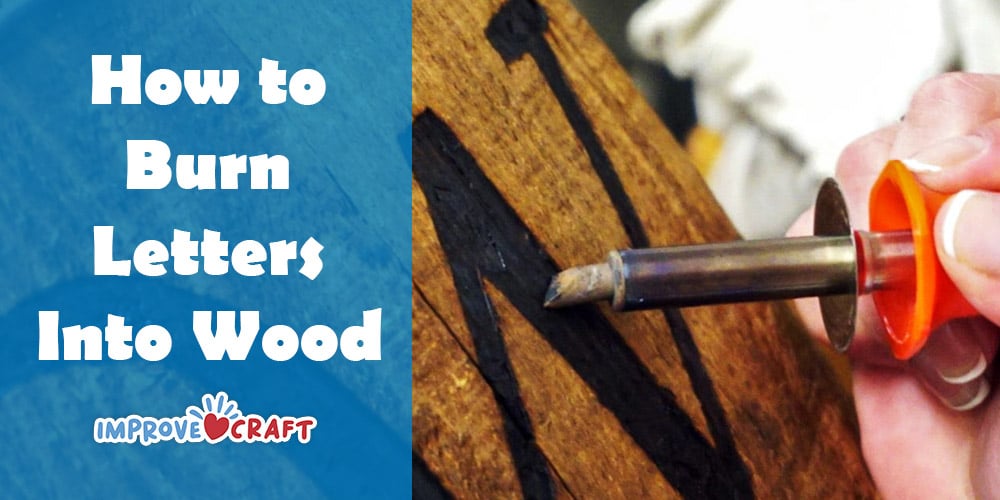
The burning process starts by tracing the letters on the wood and burning them in smooth motions. Ensure you keep the iron moving along the letters without making any stops in the middle of the lines. This is crucial if you want to make smooth and consistent lines. Your line strokes should begin and end at the same spot. For example, the letter O should be a single continuous stroke. However, this is different when burning letter R. Letter R can be done in three different strokes.
Temperature adjustment of the iron
There are instances where you need to adjust the temperature of the iron as you go. Some lines might appear too light or dark and need changes. Temperature variations depend on the type of results you want and the wood type you’re burning, just for this we have prepared a guide on how to choose the best wood for wood burning. Some wood materials are pretty hard and require higher temperatures to burn effectively. We also have softwoods that burn easily at medium temperatures.
You might move some steps back and change the shading on the lines to create the desired effects. Temperature adjustment can be made using the temperature knob on the iron. This is why choosing a quality burner with fine temperature adjustments is highly recommended. If the burner lacks a temperature dial, then you will have to wait for it to cool before burning wood.
Filling letters and additional details
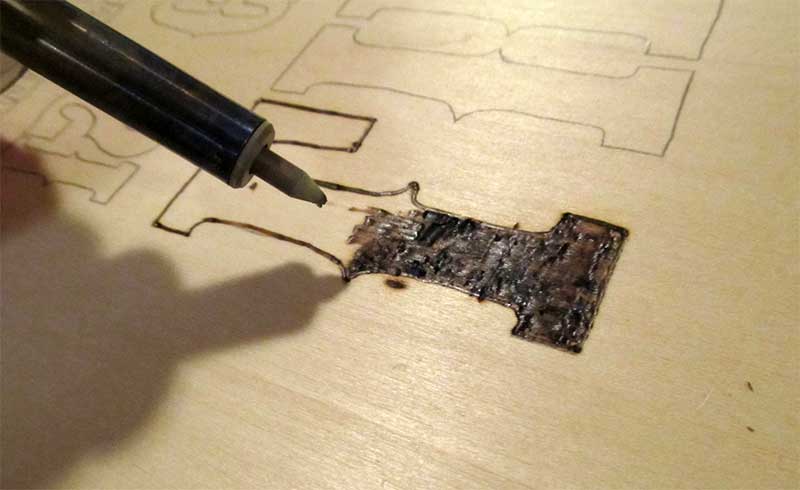
If the design includes thick letters, then you have to come back and fill them. Once the outline is done, come back and fill the centers using the same temperatures and pressure. If you’re filling larger areas, you will need larger tips to get the burning done faster. Small tips can take you ages when filling in large areas.
You can also create additional embellishments to make your craft beautiful and attractive. There are several additional decorative details you can add. These details can be tiny flowers on the edges, small hearts, and swirls. There is no rule on additional details, and everything comes down to what you want to achieve. The details elevate your wood and make it appealing.
Wood burning writing tips and lettering tricks
Read the iron instructions carefully before use. Most irons need to heat few minutes before use. Leaving your iron to heat for a few minutes before drawing ensures you have solid and well-defined lines. The iron needs to maintain a specific temperature to ensure uniform lines. Setting the iron at moderate temperatures helps create lighter shading.
When burning patterns to wood, you might have to check it occasionally to ensure everything is perfect.
Adding a subtle stain on fine-grain hardwood can help create a masterpiece of your project. The stain is also crucial for outdoor pieces protecting them from weather damage.
Final thoughts
While wood-burning is simple but needs a lot of practice to achieve the desired results, the first piece might not be perfect, but you can create stunning wood-burning projects with practice.


