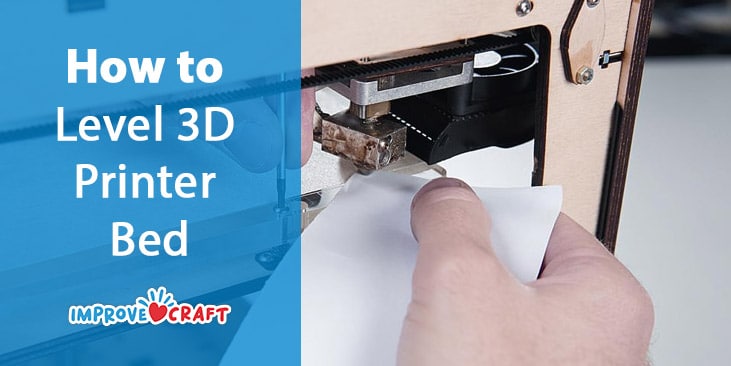
It takes some technical knowledge to level a 3D printer bed. It’s not as simple as you think. As you work on it, you should put everything in the right place. Otherwise, you risk damaging them, and the process will be wasted. In this article, you’ll learn about things you should keep in mind when 3d printer bed leveling.
The reason why we decided to write this article is our recent detailed review and buying guide the Best 3D Printer for Miniatures, we recommend that you check it out.
What are the Tools Required
- Paper: Make sure there is a slip of paper between the build plate and the nozzle tip that you can grab with ease. The standard office paper can be trimmed to size. However, anything thin that can maintain its shape can also be used.
- Hex key or screwdriver
You may need to use a 3D printer bed leveling tool if your printer’s bed doesn’t include turning knobs. - Heat-resistant gloves
Protective equipment is required when working near the nozzle. Gloves, such as those made by Rapicca, can be beneficial. - Using a clean nozzle
To keep it clean, use cotton towels and brass brushes. The use of a small brush (or anything similar) is a good idea. - A spatula or a razor (or plastic) blade
It’s easy to scrape debris off of the surface of your build plate using a spatula. You may also use blades, but be careful not to damage the construction plate. - You can remove dust and dirt from your home using dish soap and a clean, dry cotton towel.
- Isopropyl alcohol (IPA):
This is a must-have. You can use it to clean a build surface that is attached to the printer. The cleaning chemical must be compatible with the surface of the construction.
Manual 3D Printer Bed Leveling
A 3D printer structure’s bed can be manually leveled by hand, which is the most basic form of bed leveling. Also, anet a8 leveling is suitable for manual bed leveling.
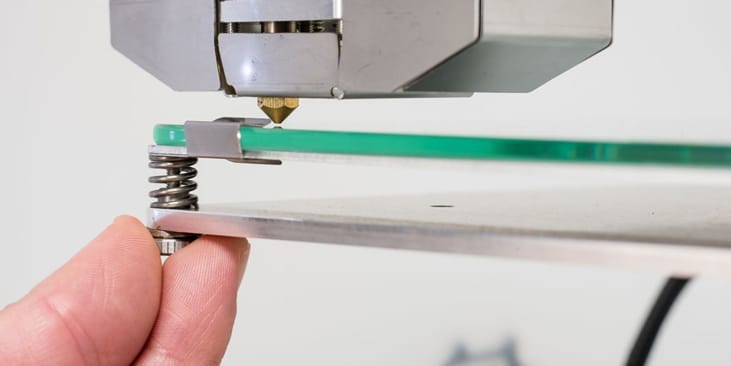
How to Manually Level the 3D Printer Bed
The bed of many printers is leveled with four screws, one at each corner, despite planes having three points.
- Tighten all the screws in each corner, so that they can be removed later. You will have more room to work with halfway down rather than down or off.
- Return the Z-axis to its original position. The Z-minimum end stop needs to be moved lower to calibrate.
- Use the LCD menu or the other interface to move the printhead over each screw that levels the bed. Then put a piece of paper between the nozzle and the bed and loosen the screw until there’s very little resistance when you pull on the paper. The paper should not be stuck.
- Rep with the remaining screws
V. After you’ve adjusted all the screws, double-check your work by sliding the nozzle over them again. This is to make sure they haven’t shifted due to previous adjustments. - Begin printing. While your 3D printer is manufacturing, you can modify the initial layer.
Once you have leveled your printer, it should remain that way for some time.
Software 3D Printer Bed Leveling
Manually adjusting the bed can result in a uniform initial layer. However, depending on the quality of the components used in a 3D printer, a bed may not be a flat surface. As thinner 3D printer beds heat up and cool down, they may bend and distort. You will always find a spot on the bed that is lower or higher than the rest, no matter how hard you try.
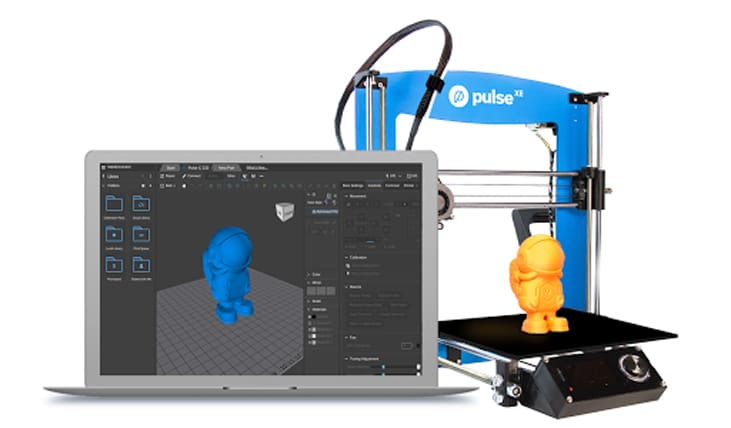
How to Software Level the 3D Printer Bed
By connecting the 3D printer’s USB cable directly to your computer, you will be able to connect it directly to MatterControl. You may then continue to 3D print from MatterControl or export the sliced Gcode to an external media such as an SD card or thumb drive after the leveling is complete.
- Connect MatterControl to your 3D printer.
- Click “Printer Calibration” under the “Controls” tab and the “Calibration” subheading.
- Follow the Simplify3D bed leveling wizard.
- Next, the printer will move to the first spot that needs calibrating and home on X, Y, and Z.
- Place a small piece of paper between the nozzle and the bed, and gradually decrease the distance between them until you encounter a small resistance. It doesn’t hold the paper tightly, but it gives it the appearance of being unable to move around easily.
- Repeat this procedure for each grid point until a mesh can be created. In order for the resistance of the paper to be uniform, it must be the same at all points. You don’t need to worry if the measurement is too tight when taking it across the bed.
- Cut up a sample print as a way of double-checking your work. There will be a rectangle that covers the bed that will indicate if any point on the bed is too near or too far.
- You can adjust the Z-Offset by baby-stepping closer or farther from the bed.
Even if the bed is not level, your sheets will be positioned at a constant distance from the bed. It means the 3D print foundation will be connected to the bed and lead to success. If you have high or low places in your initial layer, repeat the cura bed leveling wizard. When your problem regions are between probe points, increase the mesh grid points.
Firmware 3D Printer Bed Leveling
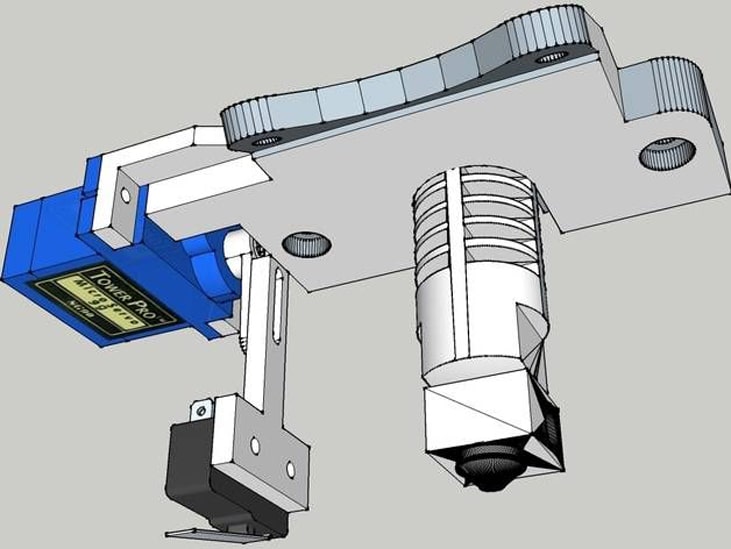
Some 3D printers include several features in their firmware, which are hardcoded. Keep human involvement to a minimum when selecting the ideal initial layer. By using a tiny probe to detect the shape of the bed, the firmware can 3d printer auto bed leveling (ABL) process and build a grid that adjusts for uneven beds.
How to level a 3D printer through Firmware
- The nozzle and the bed will be heated to expand and provide more accurate readings.
- The head of the 3D printer will travel around the machine seeking out different spots to build a mesh of the surface.
- Interested parties should either print a series of lines or start a test print manually to determine which Z-Offset is most suitable.
- Create an excellent initial layer and determine the distance between the tip of the probe and the tip of the nozzle. With the LCD menu, you can adjust the Z offset to move the nozzle closer or further away from the bed.
Conclusion
If you want to learn how to level 3d printer bed, be patient. Make sure the leveling is done correctly. Ensure that all your pieces are aligned and that you are ready to print. If you do not print in the center of the page, the images may not come out, or they may appear blurry. It is necessary to repeat the process until you achieve your goal. Isn’t it simple? You can now create your own set of designs and print them.

