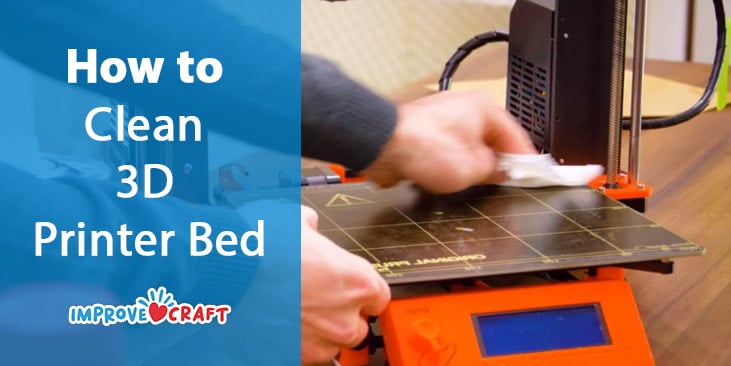
The first thing you should do if you have a 3D printer is learned how to clean it. Depending on your machine type, 3D printers can be washed in many ways. This article will give you tips on how to clean the 3D Printing bed and the most commonly used methods.
Tools and Materials Required
- Adhesive tape (the kind you use for printing).
- Scraper, plastic ruler, or metal spatula.
- A concentration of 70% or more isopropyl alcohol (IPA). Concentration is the key.
- Non-abrasive detergent soap.
- Q-tips
- A brand new sponge.
- Cotton, paper towels, or a microfiber cloth
PEI (Polyetherimide) Sheets
Polyetherimide (PEI) sheets are gaining popularity as a means of improving bed stickiness. They hold well on various surfaces and release most prints when cool. There is no need for more adhesives such as glue or tape to use or apply the sheets.
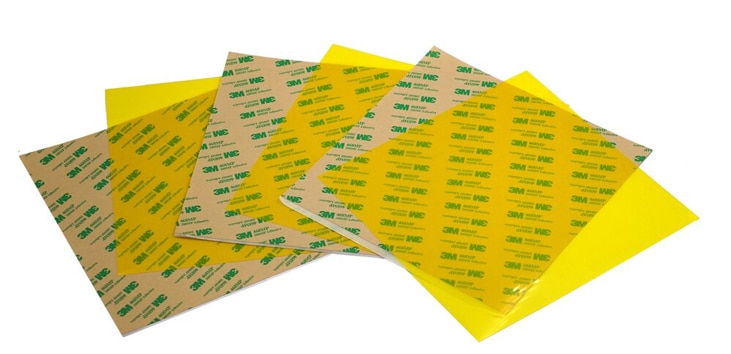
PEI sheets need frequent cleaning to maintain adhesion. A sheet’s hold is reduced when repeatedly touched, as it leaves oil on the surface. Sheets that have rough edges may degrade and lose adhesion if scraped. Prints will stay in place if they are cleaned and maintained frequently.
Cleaning Procedures
Liquid detergent and concentrated acetone work well for cleaning PEI sheets on 3D printer beds. It can be used as a spray bottle, applied with a rag, and wiped clean with another rag. Don’t leave any residue behind when wiping the wrinkles and crevices.
To clean the print head, rinse it off with water; it should come clean without residue. Alternatively, you can remove the old bed liner from the machine. After the print head is cleaned with detergent, use a soft cloth to wipe it dry.
Wipe the bed’s surface with a damp cloth soaked in acetone. You may also use acetone to dissolve any remaining plastic on the bed. Acetone is flammable, so keep the area well-ventilated to prevent fumes from getting into the printer’s electronics.
Using sandpaper, you can remove minor scratches and gouges from your printer sheet if you’ve had it for a while. Make smooth, uniform circles with sandpaper over the sheet. Polyetherimide sheets of 3D printer beds can be cleaned in minutes. All you need is a little patience.
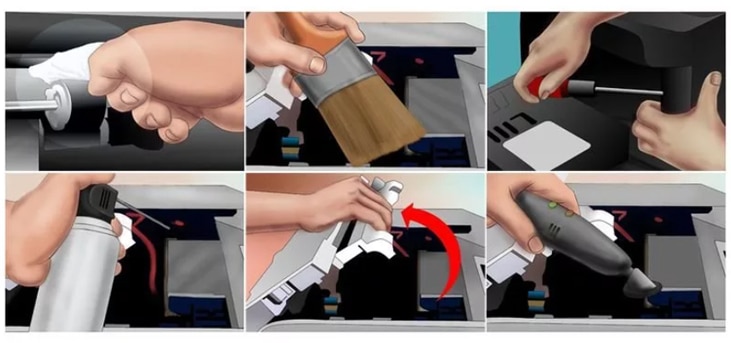
Trying this is worthwhile since it is the cheapest solution to available cleaning printers. Practicing it at home is beneficial if you’ve never done it before. A gentle detergent and some patience often result in better results than expected.
Printer Glass
Glass is also a popular material for beds. A glass bottom creates a uniform, smooth surface. As a result, it is more durable than PEI and others. Glue sticks and hairspray are commonly used with these beds to enhance adherence.
The glass alone usually is insufficient to ensure a print adheres to a mattress, particularly one that is not heated. Consequently, adhesive accumulation can be avoided by frequent cleaning. It is worth noting that some of the steps are relevant to beds other than glass beds, although the section is devoted to glass beds.
You must, once again, consider your printing habits to determine the right time to clean your bed. After each print, scrub the bed to prevent residue accumulation.
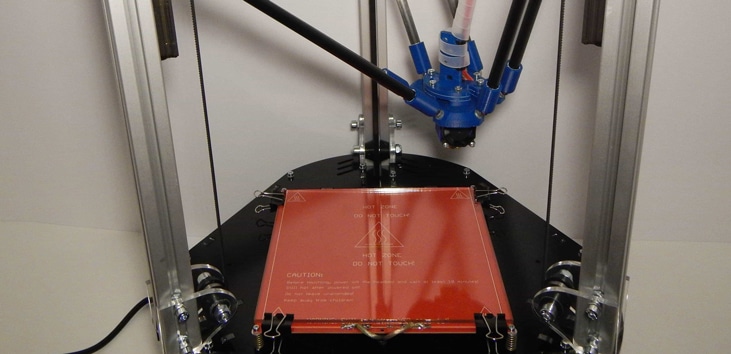
Cleaning Procedures
A dry cotton cloth is one of the best ways to ensure your glass remains clean and clear. Adding a small amount of water to the glass and scrubbing it will remove any remaining dust specks.
Do not let water touch your printer if you want the image to be crisp and clear. You will also need to wipe any excess cleaner off your glass once it has been cleaned. Ideally, you should only clean the top area of the glass where the prints are placed.
It is possible to stain a print if you lean too hard on the bottom of the glass. This will require you to replace your printer’s glass. Whenever you have finished a project, you should let the printer dry entirely before re-inserting it.
Adhesive Tape
A layer of adhesive adheres to the top of the printable material to keep things neat and tight. Adhesives are sticky substances. In addition to the adhesive on the print surface, a sticky string at the top of the print material helps keep everything in place.
A continual stream of ink is sprayed onto the print surface when the printing head is first activated. Eventually, the image bloats and looks like it’s been spread out of a vast spray nozzle.
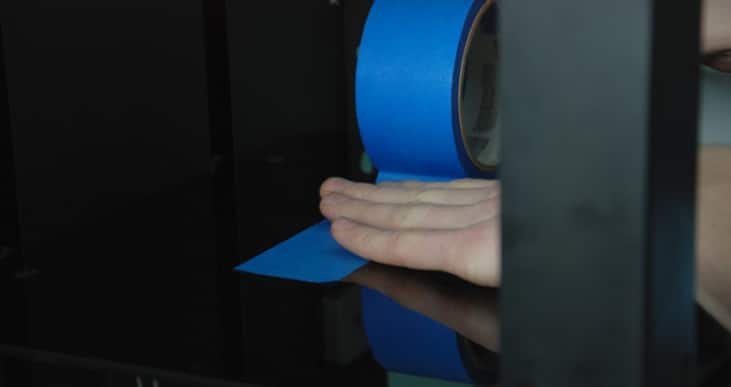
Adhesive tape is another tried-and-true method of improving bed stickiness. It’s most prevalent on printers with non-heated beds nowadays (such as the M3D Micro). Besides masking and painter’s tape, Kapton and other tapes are also used.
Sticky tapes are famous because of their simplicity of use. Most hardware stores carry them, which are inexpensive and easy to use. Adhesive videos have several disadvantages, such as ripping when removing prints. Therefore, it should be replaced regularly.
Cleaning Procedures
An alcohol-based cleaner, which you can find at most craft or office supply stores, would work well for cleaning the adhesive tape of a 3D printer bed. After the print surface has been thoroughly dried, move on to the next step.
To remove any remaining dirt or residue, wipe down the print surface. This is important so you do not accidentally spray or dribble the cleaner all over the print material.
Observe that the printhead can be damaged while cleaning a 3D printer bed. So when working on your project, use the right cleaner and follow the instructions.
Please Avoid
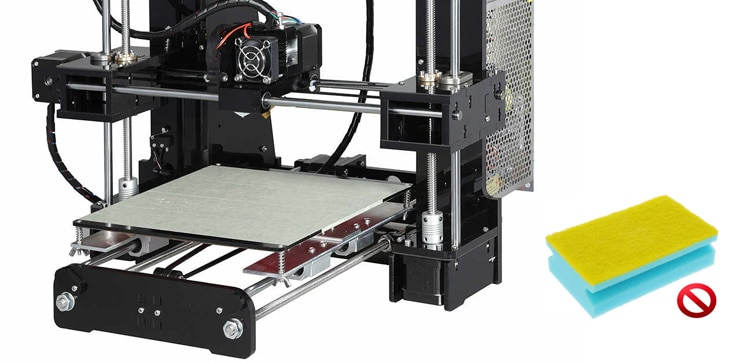
For filaments to adhere long-term, abrasive compounds should not be used. This will destroy the print bed of your device. Scratches will remain on the surface, indicating the filaments no longer adhere to it.
The use of sponges with rough surfaces is therefore discouraged. As a consequence, the print bed may also be scratched. You should also be cautious when using acetone. Due to its harsh impact, it isn’t suitable for use on coated beds. After cleaning the 3D printer bed, remember to air the room. As a result, toxic gases will be expelled from the room.
Conclusion
Keeping your 3D printer bed clean is essential to extending its lifespan. When using your printer for long periods, keep the mattress clean to prevent damage to the external parts of the device. You’ll also save money on possible repairs and replacements as a bonus. Cleaning your printer bed will also free your printer from dust and dirt. This will prevent your device from slowing down. We have a detailed guide to buying the Best 3D Printer for Miniatures.

